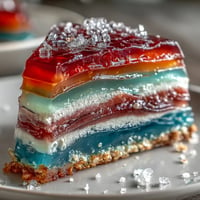
 Pin this
 I'll never forget the December afternoon when my grandmother first taught me to build a gingerbread house. Not the elaborate Victorian mansion kind, but something simpler and more elegant—a frame that cradles the season itself. She arranged it on a vintage platter, surrounding the golden walls with an array of cookies and candies like we were creating an entire edible village. That day, I learned that gingerbread wasn't just about taste; it was about building memories with your hands, one spiced panel at a time.
Years later, I found myself making this same frame for my daughter's school holiday party. As families arrived and saw the gingerbread boundary protecting a treasure of treats, their faces lit up in a way that store-bought decorations never quite captured. That moment—watching people genuinely delighted by something I'd crafted—reminded me why I keep coming back to this recipe year after year.
Ingredients
- All-purpose flour: 300 g of flour forms the foundation that gives structure to your gingerbread. I've learned to measure by weight here; it ensures your dough has the right consistency for rolling and holding its shape in the oven.
- Brown sugar: 100 g brings a subtle molasses undertone that makes the spices sing. Dark brown sugar gives deeper color and flavor than light brown, though both work beautifully.
- Unsalted butter, softened: 100 g creamed properly creates the tender crumb that makes each bite melt. Let it sit at room temperature for 30 minutes before you start—cold butter won't incorporate the air you need.
- Molasses or dark honey: 100 g of this dark, rich ingredient is where the gingerbread soul lives. It adds moisture and that distinctive deep flavor that's impossible to replicate with just sugar.
- Large egg: 1 egg binds everything together and adds richness. Room temperature eggs mix more smoothly into your dough, creating a more cohesive texture.
- Ground ginger: 1 tsp provides that warming, slightly sharp bite. Fresh is always better than old spice from the back of your cabinet—old spices taste like cardboard.
- Ground cinnamon: 1 tsp adds sweetness and warmth. This is the flavor people recognize immediately when they smell gingerbread baking.
- Ground cloves: ½ tsp gives a subtle earthiness that sneaks up on you. Don't skip it, but also don't double it—cloves can overpower if you're not careful.
- Baking soda: ½ tsp helps the dough spread slightly and brown beautifully. It also reacts with the acidic molasses, creating that perfect tender crumb.
- Salt: ¼ tsp brings all the spices into focus. It sounds like a tiny amount, but it's what makes people say, 'I can't quite place it, but something about this is perfect.'
- Egg white: 1 for the royal icing. Keep the yolk for scrambled eggs tomorrow.
- Powdered sugar, sifted: 200 g for the icing. Sift it before measuring, not after—this prevents lumps and gives you smooth, glossy icing that sets like a dream.
- Lemon juice: ½ tsp cuts through the sweetness of the icing and helps it harden properly. Fresh lemon is worth the squeeze here.
- White chocolate, melted: 50 g for drizzling. Use good quality white chocolate; cheap versions look dull and taste waxy.
- Assorted candies: Chocolate buttons, white sprinkles, mini marshmallows. Let these be your palette. Choose what makes you happy.
- Edible glitter or silver pearls: Optional, but they catch the light in the most magical way.
Tired of Takeout? 🥡
Get 10 meals you can make faster than delivery arrives. Seriously.
One email. No spam. Unsubscribe anytime.
Instructions
- Prepare your stage:
- Gather all your ingredients and tools before you begin. I learned this the hard way when I realized mid-mix that I'd forgotten to sift the powdered sugar. Having everything ready means you stay in the rhythm of cooking, not scrambling.
- Cream butter and sugar together:
- In a large bowl, beat softened butter and brown sugar until they look light and fluffy, almost cloud-like. This takes about 3 minutes with an electric mixer. You're incorporating air, which is what makes the gingerbread tender rather than dense.
- Add the wet ingredients:
- Add the egg and molasses to your butter mixture, beating until everything is well combined and looks like smooth, dark batter. Don't rush this step; take your time and let the mixer do the work.
- Mix the dry components:
- In a separate bowl, whisk together flour, ginger, cinnamon, cloves, baking soda, and salt. Whisking distributes the spices and leavening evenly throughout the flour, ensuring every bite has balanced flavor.
- Bring it together:
- Gradually add the dry mixture to the wet ingredients, mixing gently until you have a smooth dough. Stop as soon as everything is combined; overmixing develops gluten and makes the dough tough.
- Chill for patience:
- Wrap the dough in plastic and refrigerate for at least 30 minutes. This gives the spices time to bloom and makes the dough easier to roll out. I often do this step the night before.
- Heat your oven:
- Preheat to 180°C (350°F) and line a baking sheet with parchment paper. Parchment prevents sticking and gives you evenly colored bottoms.
- Roll with intention:
- On a floured surface, roll the chilled dough to 5 mm thickness. Use a ruler if you want uniform panels, or eyeball it if you're comfortable. The thickness matters; too thin and they'll be fragile, too thick and they won't bake through properly.
- Cut your panels:
- Use gingerbread house templates or carefully cut shapes for the front, back, two sides, and roof pieces. Each panel should be roughly 10–12 cm. These become the walls of your edible frame.
- Bake to golden firmness:
- Place pieces on the baking sheet and bake for 10–12 minutes, until the edges are just firm and the bottoms are lightly golden. Watch them closely; overbaking makes them hard and brittle, which is exactly what you don't want for assembly.
- Cool completely:
- Transfer to a wire rack and let them cool thoroughly. This is essential. If you try to assemble while they're warm, they'll be too soft to hold their shape. I use this cooling time to prepare my decorations and clear my workspace.
- Make royal icing magic:
- In a clean bowl, beat the egg white to soft peaks. This takes about 2–3 minutes. Gradually add sifted powdered sugar and lemon juice, beating continuously until thick and glossy. The icing should be spreadable but hold its shape; it's the glue that holds your house together and the canvas for decoration.
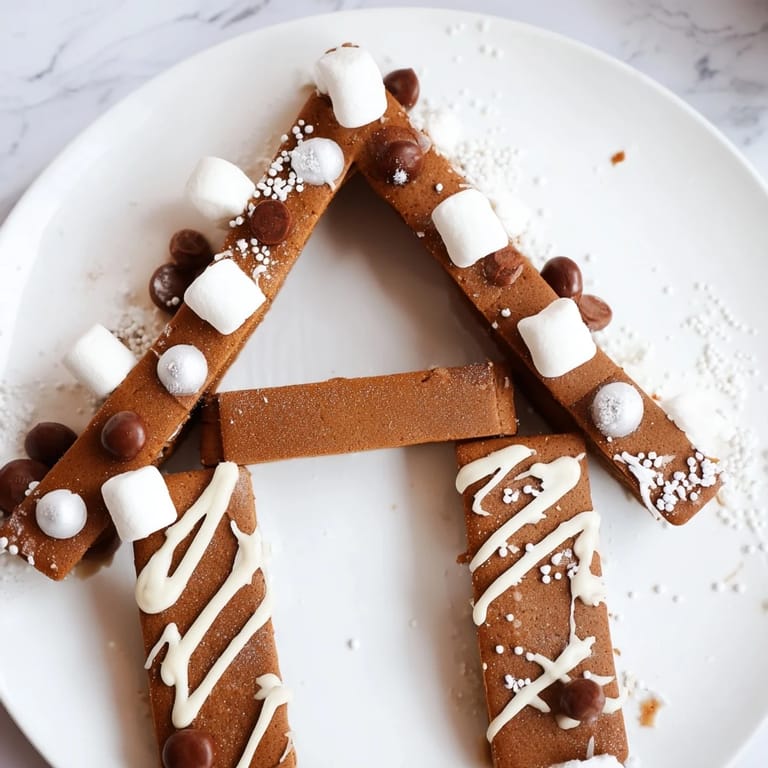
- Assemble with steady hands:
- Using royal icing as your adhesive, attach the gingerbread panels together to form the frame. Press each piece firmly for a few seconds until the icing begins to set. Let the whole structure dry for at least 30 minutes before decorating. Patience here prevents collapse.
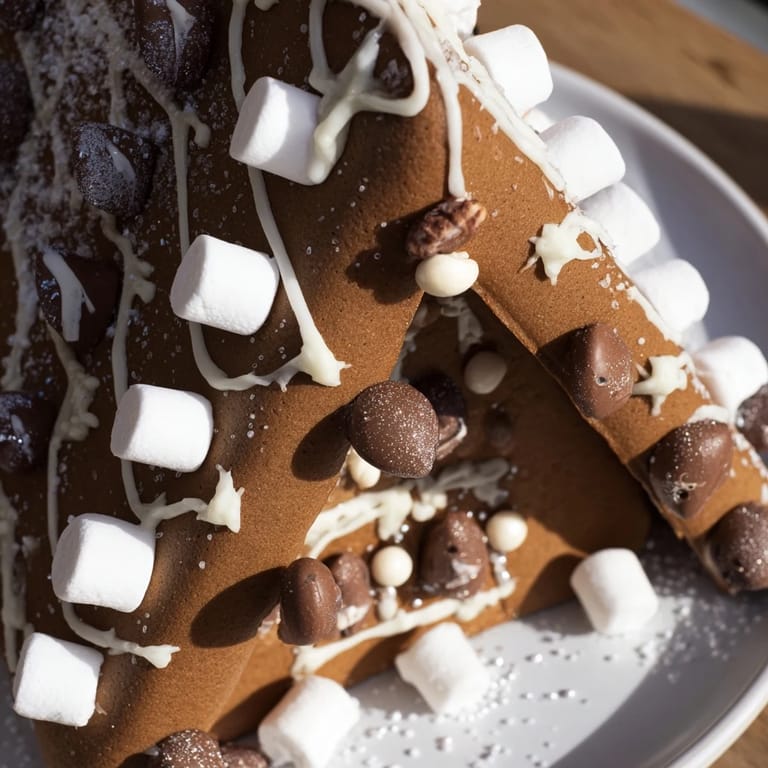
- Decorate with joy:
- Using a piping bag filled with remaining royal icing, pipe details onto the frame. Stick on your candies, drizzle white chocolate, add sprinkles. Let your creativity guide you. This is where the frame becomes uniquely yours.
- Final set and display:
- Once everything is set (usually 1–2 hours), place the gingerbread house frame on your platter. Arrange cookies, nuts, and additional treats around it like you're creating a festive landscape. Step back and admire your work.
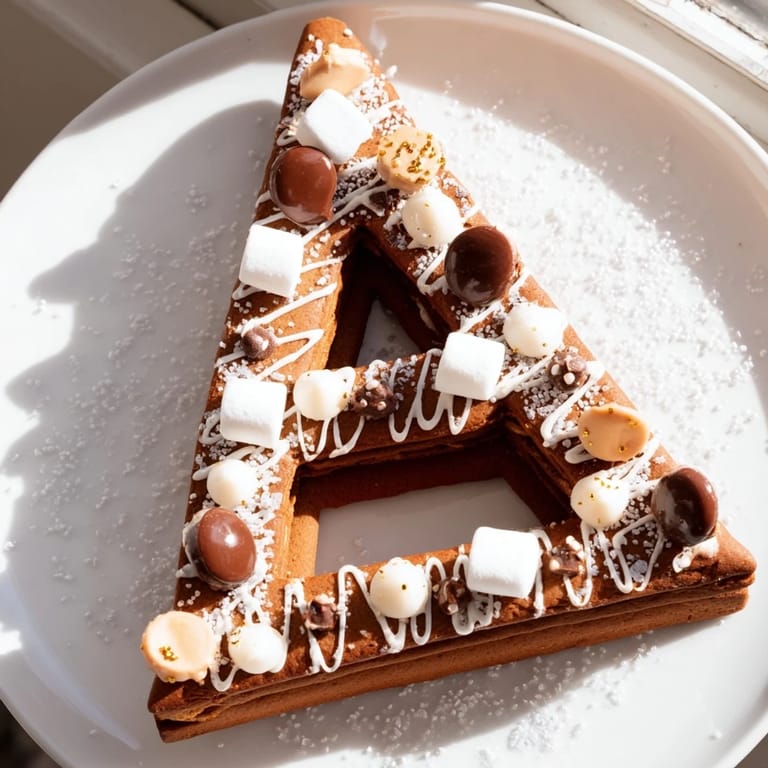 Pin this
 What I treasure most about this recipe is watching people realize that the gingerbread frame isn't just decoration—it's edible, it tastes like comfort, and it proves that beautiful food doesn't require restaurant skills or hours of work. That's when food becomes memory.
The Story Behind Gingerbread Houses
Gingerbread has been crafted into houses for centuries, originating in Europe as a luxury treat reserved for special occasions. The spices—ginger, cinnamon, cloves—were once expensive imports, making gingerbread a marker of celebration and abundance. This frame version is a more modern take, inspired by the idea that elegance doesn't require complexity. Instead of building an entire edible mansion, you're creating an elegant border that frames the season itself.
Why This Frame Over a Traditional House
A gingerbread frame offers several practical advantages that I discovered through trial and error. It's less likely to collapse because it doesn't require structural engineering to support multiple levels. It's faster to assemble, leaving more time for enjoyment and less time for frustration. And perhaps most importantly, it's a perfect vehicle for showcasing other treats—it becomes a gallery for your holiday baking rather than the main attraction. This frame complements; it doesn't demand the spotlight.
Flavor Variations and Customizations
This recipe is a starting point, not a rigid instruction. I've experimented with adding cocoa powder for deeper color and slightly different flavor—about 2 tablespoons per batch creates a chocolate-gingerbread fusion that's stunning. You can swap honey for molasses if you prefer a lighter taste. For a spicier version, add an extra ½ teaspoon of ginger or a pinch of black pepper for complexity. If you're feeling adventurous, a touch of orange zest brightens the whole profile.
- Adding cocoa powder creates visual depth and a sophisticated chocolate undertone that pairs beautifully with winter spices
- A drizzle of dark chocolate instead of white chocolate gives a more dramatic, modern look that photographs beautifully
- Consider the candies you choose as part of your flavor story; they should complement, not fight, the warm spices
 Pin this
 This gingerbread frame is an invitation to slow down, to create something edible and beautiful, and to remember that holidays are built one small moment at a time. Make it, share it, and let it become part of your family's story.
Recipe FAQs
- → What spices are used in the dough?
Ground ginger, cinnamon, and cloves provide warm, aromatic flavors to the gingerbread dough.
- → How do I ensure the house frame is sturdy?
Baking the panels until just firm and letting the royal icing fully dry before decorating helps maintain stability.
- → Can I prepare components in advance?
Yes, panels can be baked a day ahead and stored airtight to simplify assembly later.
- → What can I use for decoration?
White chocolate drizzles, assorted white and brown candies, and edible glitter add festive visual appeal.
- → Is there a vegan icing alternative?
Royal icing can be swapped for plant-based alternatives to accommodate dietary preferences.
- → What tools are needed for assembly?
A rolling pin, mixing bowls, piping bag for icing, and templates or a knife for cutting panels are essential.